CS 151 Fall 2023 Syllabus Labs/Projects
Lab 6: Filtered Images
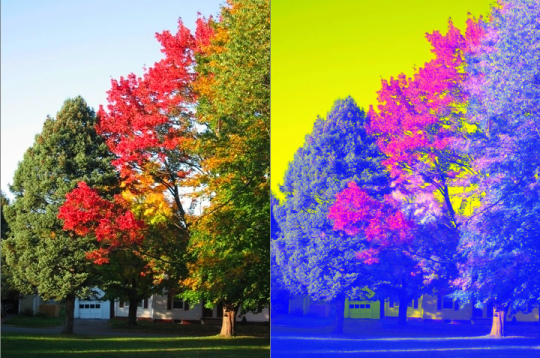
This week you will explore another useful feature of the Graphics module: creating and manipulating images. You will create Instagram-style filters. This will give you a hands-on introduction to the subfield of computer science called image processing.
The goals this week are to:
- Practice working with objects.
- Practice with the Graphics library, this time with
Imageobjects. - Use command-line arguments to control aspects of a program.
- Practice reading code documentation.
Tasks
L0. The setup
Create a Lab06 folder on your computer where you store CS151 projects and labs, hopefully somewhere that is backed up (e.g. in Dropbox, Google Drive, Microsoft OneDrive, etc.)
Open up a Terminal (e.g. Control+` in VS Code) and change the directory (cd) to the Lab06 folder.
L1. Downloads
L1a. Code
Copy each other following files to your Lab06 folder.
| Description | Links |
|---|---|
| Graphics Module | Graphics module Documentation (PDF) |
Important: The Graphics documentation PDF contains a listing of all Graphics object types, their methods, and how they work. It is helpful to have this open as you work.
L1b. Images
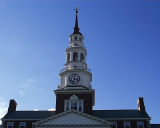
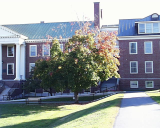
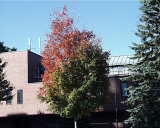
Download at least two of the following PPM images to use in the lab exercises. You should right-click on the Image and do "Save Link As..."
 |
 |
 |
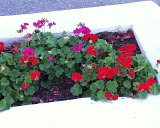 |
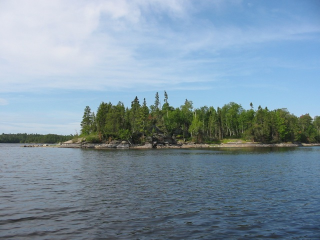 |
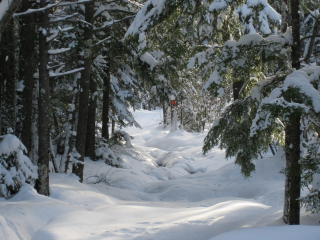 |
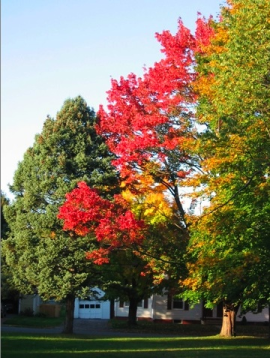 |
 |
L2. Create an Instagram-style image filter
Now you're going to play with the pixels in an image to create different effects.
Recall that each pixel in a color image has three values (r, g, b). Each pixel is addressed by its row ("y") and column ("x"). The height of the image tells us the number of rows and the width of the image tells us the number of columns.
The Graphics module contains two functions that make it easy to get and set pixel values if you have an Image object. The three lines below demo how you would:
- read in a
Imagefrom a file (which you did above) - get the RGB values at the pixel at x = 42 and y = 35.
- replace the RGB values of the pixel at x = 42 and y = 35 by twice their current values.
img = graphics.Image((0,0), 'myImage.ppm')
(r, g, b) = img.getPixel(42, 35)
img.setPixel(42, 35,(2*r, 2*g, 2*b))
L2a. Create a filter function swapRedBlue that swaps red and blue colors in an image
Create a new file called filters.py, import graphics and sys.
Copy-and-paste and fill in the below function signature and docstring for the function named swapRedBlue that takes in one parameter, which is an Image object that you will be modifying.
def swapRedBlue(img):
    '''Swaps the red and blue values of every pixel of a image `img`'''
Hint: You will need to write a nested loop. Also, take a look at lecture notes and/or the documentation PDF for Image methods.
L2b. Test out your filter
Create a test function that should take one parameter, the filename (a string) of the image (will be passed in by command-line argument). Except for applying the filter and saving the resulting image, the code should be very similar to what you did in show.py:
- Load in the image.
- Apply the
swapRedBlueimage filter to the image. - Save the filtered image as a .ppm file in your
Lab06folder (the filename should not be the same as the original image!). Look at the documentation to figure out how to save anImageobject as a image file on your computer. - Show the result until the user clicks.
Add main code that calls your test function and pass in the filename from command-line arguments.
Running filters.py should show you the filtered image (red parts of the original image are blue-ish and vice-versa).
You should also see a new PPM file in your Lab06 folder that is the filtered image. Double check that the saved image file looks right (e.g. pass the filename as a command-line argument to show.py from last week).
Get started with the project
Once you are done with each of the lab tasks, you may start on the project.