CS 151 Spring 2025 Syllabus Labs/Projects
Lab 5: Images
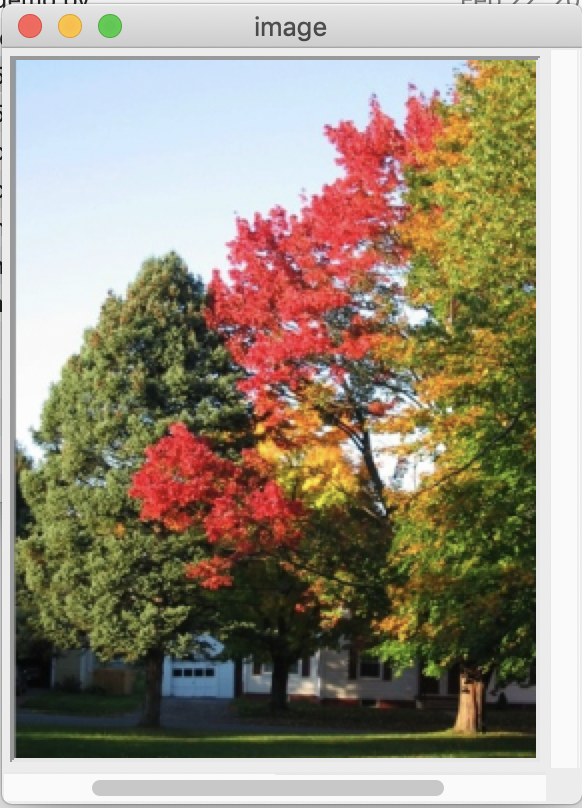
This week you will explore the Graphics module. You will create display images and use command line arguments.
The goals this week are to:
- Practice working with objects.
- Practice with the Graphics library, particularly with
Imageobjects. - Use command-line arguments to control aspects of a program.
- Practice reading code documentation.
- Lab 5: Images
Tasks
L0. The setup
Create a Lab05 folder on your computer where you store CS151 projects and labs, hopefully somewhere that is backed up (e.g. in Dropbox, Google Drive, Microsoft OneDrive, etc.)
Open VS Code. Create a new Python source code file called show.py.
Open up a Terminal (e.g. Control+` in VS Code) and change the directory (cd) to the Lab05 folder.
L1. Downloads
L1a. Code
Copy each other following files to your Lab05 folder.
| Description | Links |
|---|---|
| Graphics Module | Graphics module Documentation (PDF) |
Important: The Graphics documentation PDF contains a listing of all Graphics object types, their methods, and how they work. It is helpful to have this open as you work.
L1b. Images
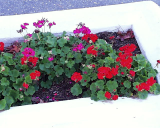
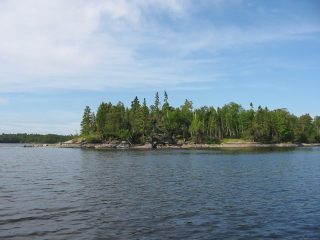
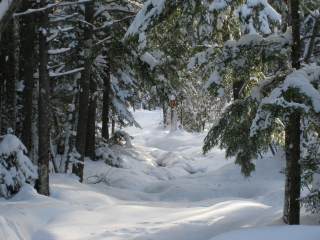
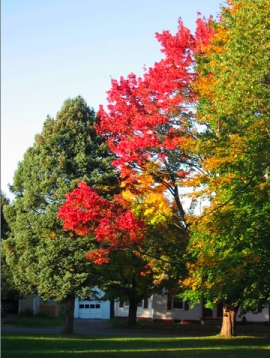
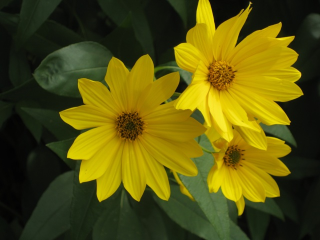
Download at least two of the following PPM images to use in the lab exercises. You should right-click on the Image and do "Save Link As..."
 |
 |
 |
 |
 |
 |
 |
 |
L2. Command Line Arguments
Create a new file called lab05args.py. Import the module sys at the top.
L2a. The format of the sys.argv list
Arguments passed in through the command-line are available in the list named argv in the sys module (i.e. sys.argv). In top-level (unindented) main code, copy-and-paste the code:
print('Item 0 in sys.argv:', sys.argv[0])
print('Item 1 in sys.argv:', sys.argv[1])
print('Item 2 in sys.argv:', sys.argv[2])
print('Item 3 in sys.argv:', sys.argv[3])
print('Item 4 in sys.argv:', sys.argv[4])
Save your file and run it as follows:
python3 lab05args.py a b c d
Make sure you understand which items passed in by command-line arguments appear as which items in the list.
L2b. Accessing additional command-line arguments
Run your file again with these command-line arguments:
python3 lab05args.py i love CS and CS151
Add a print statement to have your program print the CS151 passed in by command-line arguments.
L2c. What is the data type of items in the sys.argv list?
Add the line of code to lab05args.py:
print('Item 5 in sys.argv:', sys.argv[5])
print(5*sys.argv[2])
Run your file again with these command-line arguments:
python3 lab05args.py 1 2 3 4 5
What is the data type of items in the sys.argv list?
How would you need to change the line to get the multiplication to give you 10?
L2d. Checking the number of command-line arguments
Run the file as follows:
python3 lab05args.py 1 2 3 4
What happens and why?
This is a common problem with using command-line arguments — it is not clear what values you need to pass in to get the program to run and how many!
For practice, let's require the user to pass in 5 command-line arguments. Check to see if the user passes in any fewer, and if so print the message:
Usage: python3 lab05args.py <int 1> <int 2> <int 3> <int 4> <int 5>
then on the next line call the exit function (this is a built-in Python function like print).
Running the file in the following way should be fine and print out all the command-line arguments:
python3 lab05args.py 1 2 3 4 5
Running the file in the following way should print out the usage statement and close the program cleanly without crashing:
python3 lab05args.py 1 2 3 4
L3. Display images with show.py
Let's practice loading in PPM images as Image objects and viewing them.
This section is intentionally similar to what we did in class. Try to only consult the code from class if you get stuck so that you can practice, but do use it to check your work.
L3a. Load your chosen image from a file and show it in a window
Create a main function in your show.py file. In it, make an Image object that represents the PPM image file that you downloaded. Making an Image object is much like making shape objects:
myImage = gr.Image((x, y), filename)
where (x, y) is where the image appears in the canvas (can be 0, 0) and filename is the name of the PPM file.
Using example code from class, display the image by creating a window, moving it to the correct location and then drawing it.
Add main code (in the usual conditional statement) that calls the main function.
Try out your show function. You should see your image displayed in a window until the user clicks.
L3b. Display an image whose name is passed in via command-line arguments
This will be a useful function throughout this week's lab and project for quickly viewing images that you create.
Our goal is to pass in the PPM image filename to show.py through the Terminal (command line) and have it display that image (rather than showing a hard-coded image, like we did in class). For example, to show geraniums.ppm, you would run the following in the Terminal:
python3 show.py geraniums.ppm
To show the winter scene, you would simply enter the following in the Terminal:
python3 show.py winter.ppm
You do not need to write down the answers to the following questions anywhere. They are intended to guide you toward developing an understanding of how command-line arguments work. Do take them seriously...the topic of command-line arguments is fair game for quizzes.
L3c. Add command-line arguments to show.py
Recall that you want to pass the image name by command-line arguments:
python3 show.py winter.ppm
Important best practice
The best practice is to only have sys.argv in the code within if __name__ == '__main__'. Determine the image filename from sys.argv there and pass it as a string parameter to main — i.e. your main function should now have a signature that looks like def main(filename):. From now on, I should not see any sys.argv outside of if __name__ == '__main__'!
Test out show.py with at least two different PPM files, for example, as shown above. You should see the appropriate image in the window.
Why this best practice? Your code becomes much less readable and it can be a debugging nightmare tracking down which aspects of your program depend on command-line arguments that may or may not be present. Please ask me to elaborate if you are not convinced!
L4. Resize Window and Center Image
Modify your code so that the window is the size of the image. Modify your code so that the image is centered in the image.
Do this programmatically. You should not need to change your code if you use a different image via command line arguments.
L5. Take a Greenscreen Photo
Take a photograph of yourself in front of the green screen. This image will be used as a image for a meme in Project 5.
Rename the file to be your Colby email ID.
Turn in the image with show.py and Professor Wolfe will convert it to the correct file format for you.
Submit Lab Code on Google Classroom
Upload and submit your show.py file AND green screen image on Google Classroom.
Get started with the project
Once you are done with each of the lab tasks, you may start on the project.
Appendix A: ImageMagick
This section will help you convert your images to PPM format and those of you interested in resizing your own images.
Install ImageMagick (macOS)
Open up Terminal.
Install Xcode Command Line Tools by entering the following command: xcode-select --install.
Install the Homebrew package manager by copy-pasting the following into the terminal (one long command) then pressing Enter:
/bin/bash -c "$(curl -fsSL https://raw.githubusercontent.com/Homebrew/install/master/install.sh)"
Finally, install ImageMagick by running the following Terminal command:
brew install imagemagick
Install ImageMagick (Windows)
Download and run the installer. As of writing this, the first file ImageMagick-7.0.10-29-Q16-HDRI-x64-dll.exe should work for most people.
Converting JPG to PPM
The graphics library can open only PPM format images, not JPGs. JPG and PNG images are the formats for you will need to use for your reports or for web pages. You can change a JPG to a PPM using a program called ImageMagick. You can run ImageMagick to do the conversion via the convert command in the Terminal (you need to install it first — see the next section below):
convert myImage.jpg myImage.ppm
The convert program is a very powerful application for manipulating images. If you want to find out more about it, check out the ImageMagick web site.
Shrinking an image
You may want to make the images smaller for testing (i.e. your images take too long to process). The following ImageMagick command shrinks an image to 25% the original size.
convert myImage.jpg -scale 25% myImage.ppm
Resizing an image
If you want to use your own image, the following converts the original image (assuming it is a JPG) to 512x512:
convert myImage.jpg -resize 512x512\! mySmallImage.ppm