CS 151 Fall 2026 Syllabus Labs/Projects
Project 2: A shape collection
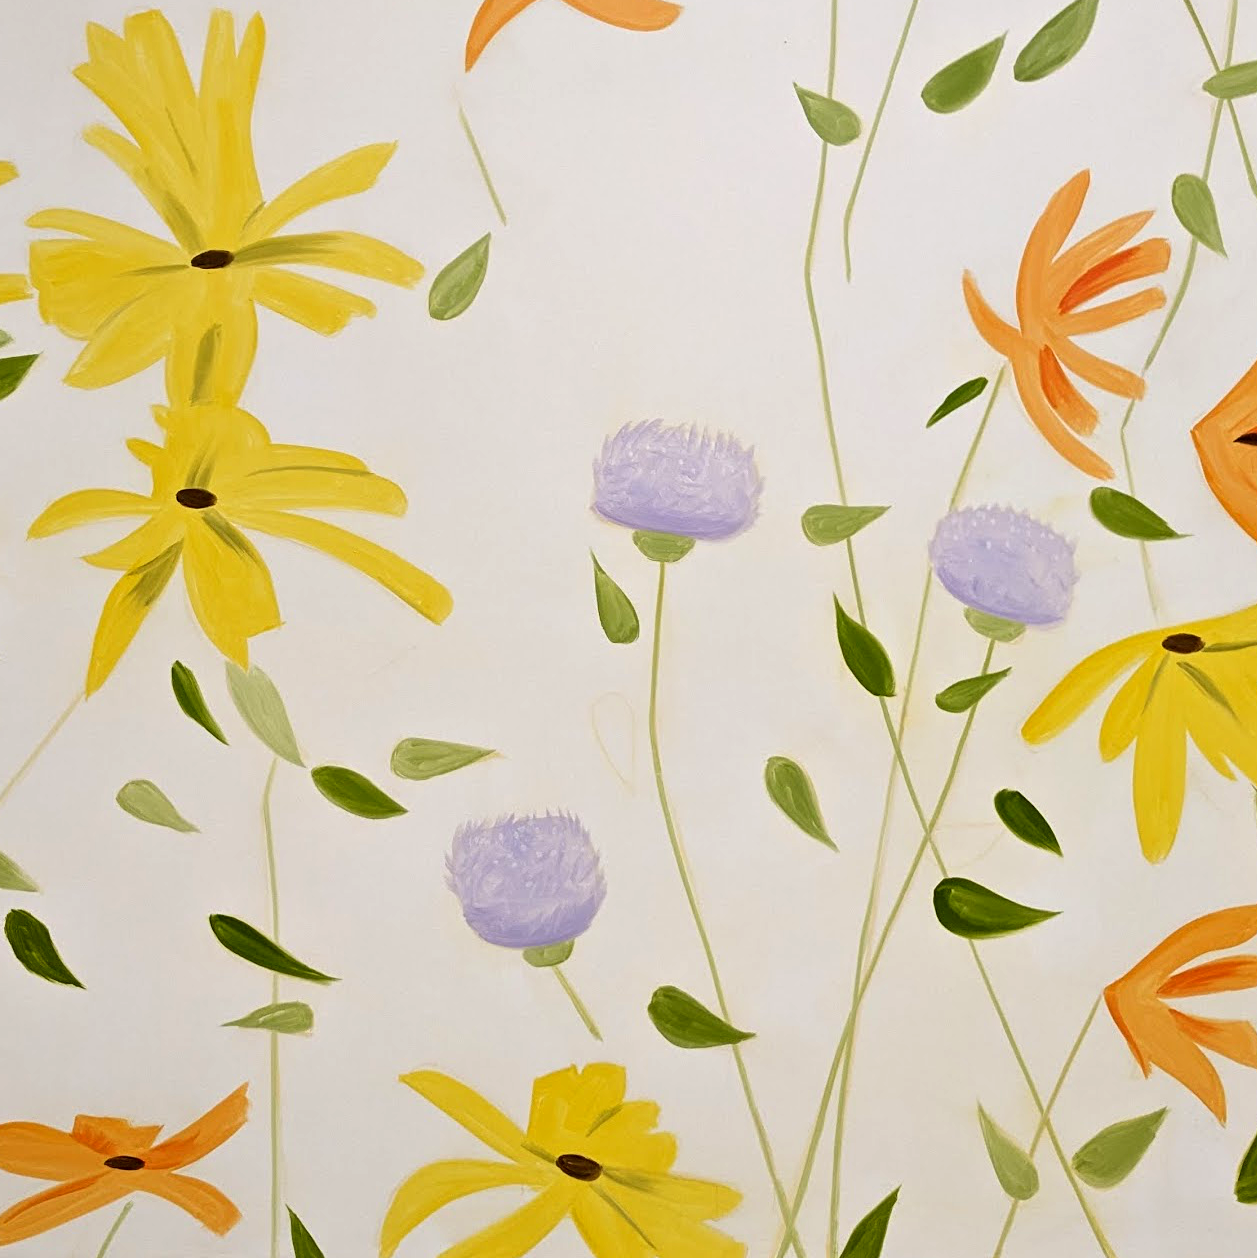
In this project, you will practice using functions to make a everyday scene made up of simple and compound shapes that you design inspired by the Alex Katz exhibition at the Colby Art Museum. It can be inspired by the content or color palette of a painting. You have wide latitude in your choice of subject, and the scene can be as simple or complex as you like. What is important is to properly structure your code and include good comments.
To help you flexibly use your shapes in your dream space scene, you will take advantage of functions with offsets and scales to place your shapes in any position and at any scale.
The goals of this project reinforce those from lab:
- Practice Python and functions.
- Use parameters.
- Use best practices for code organization.
Extension points are awarded for complex scenes, especially those that show me that you can integrate concepts from lecture into making your scenes and take things to the next level!
Tasks
- Project 2: A shape collection
0. Develop a design for a scene
First, go to the Alex Katz exhibition at the Colby Art Museum. Think about how Katz uses bold simple shapes and fields of color to represent people, and landscapes. Look at the way that the subject of the paintings use the space of the canvas. Take a picture of one of the paintings (without flash!) and write down the name of the painting.
Include a photo of an artwork from the Alex Katz exhbition as part of your report.
Think about an image you want to create inspired by current Alex Katz exhibition at the Colby Art Museum. Design the scene on paper as a collection of complex objects from everyday life, like people, trees, flowers, etc. Come up with at least 3 complex objects of your own that you want to create for your scene. Think about what shapes you would need to create the complex objects.
In your report section called Art Reflection discuss which painting(s) inspired you and what aspects of the compositions you emulated.
Include a photo of your design document as part of your report.
1. Create your project files
1a. Create shapelib.py: it will store all the functions that you write to draw different shapes
- Make a COPY of
lab2.pyand name itshapelib.py. This will be your shape library — it will store all the functions that you write that draw different shapes. You will need to turn inlab2.pyso that it can be graded; do not modify your code from lab without making a copy! - Remove all main code from
shapelib.pyso that it only hasimportstatements and function definitions.
1b. Reset turtle heading in the goto function
If you haven't already in lab, add a call to the setheading turtle function in your goto function in shapelib.py, so that the turtle always faces east when you call goto (We are using "standard mode").
This may be helpful when you create your scene because you will know the turtle is always facing east when it moves to draw a new shape.
1c. Create the main.py file: it will store functions that you write to draw your scene
- Make a new file called
main.py. - At the top, add your usual header comments (e.g. your name, course, project name, date, etc).
- Import turtle.
- Add an import statement so that you can access the shape functions in your shape library (i.e.
import shapelib).
Tip: If you do not want to writeshapelib.<function>every time you want to call a shape function, you can instead use theimport shapelib as <something>trick to use an abbreviated name. - Make a function called
testScene. As the name suggests, this function is only a test to make sure you are able to access your shapes in another file. Call one of your shape functions in the function (e.g.triangleStack).
Remember: the shape is inshapelib.py, notmain.py! - Put a single call to the
testScenefunction at the end of the file as main code, followed by a call toexitonclick. - Run
main.pyand make sure that the turtle draws the expected shape. You don't need to save this image; it is only a test.
2. Make two more simple shape functions in shapelib.py
They could be shapes like a rectangle, non-equilateral triangle, n-gon, etc (turtle.circle() doesn't count). Each function should minimally take parameters for:
- x location
- y location,
- necessary size information. For example, if you were making a function that draws a rectangle, you would have a parameters you would have two parameters for the
widthandheight, in pixels.
Some important guidelines:
- Plan ahead: these will be the building blocks that you use to make everyday compound shapes that you see around campus (e.g. buildings, cars, trees, people, etc.). For example, if you eventually want to make a person, what simple shapes (e.g. T-shape, rectangle, triangle) do you need to make it?
- You want to make sure that your shapes draw properly no matter where they are drawn on the screen, what the size parameter is, or what the heading of the turtle happens to be when the shape function executes.
Test out each of your functions one-by-one as you make them. This means calling your two shapes in main code at the bottom of main.py several times to draw each in a few different positions and sizes.
2a. Create a test function for each simple shape
Create a test function for each shape called shapeA_test and shapeB_test. The test function should draw the shape in different locations at different sizes, showing that the shape can be drawn at any scale or size.
For each test function, take a screenshot of the results it produces. These are Required Images 1 and 2 that you should include and describe in your written report.
Keep the test functions but comment out the function calls after taking a screen shot.
3. Make two compound shape functions in shapelib.py
These should be things you see around campus (e.g. buildings, people, trees, etc.). The objects should be built from at least two of your simple shapes (e.g. triangles, rectangles, etc.) from your shape library.
Just like triangleStack from lab, your compound shape functions should take at least three parameters:
- x position
- y position
- scale
Remember the process for designing complex shapes:
- Hard-code all parameter values in your function with actual numbers to make something that looks good.
- Replace the position of your first shape with
(x, y). Convert the remaining shape positions to offsets. - Multiply the
scaleparameter to sizes and offsets, not positions.
Your shapes should draw properly at any scale, location, or turtle orientation.
3a. Create a test function for each compound shape
Create a test function for each compound shape called compound_shape1_test and compound_shape2_test. The test function should draw the compound shape in different locations at different sizes, showing that the compound shape can be drawn at any scale or size.
For each test function, take a screenshot of the results it produces. These are Required Images 3 and 4 that you should include and explain in your written report.
Keep the test functions but comment out the function calls after taking a screen shot.
4. Make your artwork scene!
Write your code in a function called scene1 in main.py. It should use the simple and compound shapes that you have made — drawing them in different positions and sizes.
Take a screenshot. This is Required Image 5 that you should include in your report.
Check reproducibility
In order to grade your project, we need to be able to run your code and get the same results as you do! Here is a summary of the expected outputs from each of the source code files that you created (i.e. by running python3 <filename>.py):
shapelib.py: Nothing. Yourshapelib.pyshould have test functions but they are NOT called at the global scope.main.py: Your artwork scene.
AI Usage Statement
Document your AI usage in the format described here under "AI Usage Statement" OR if you didn't use AI answer the following question. The question should be answered in a short paragraph (100-250 words total) without using AI and take approximately 10-20 minutes to complete, including researching and writing.
Alternative Assignment: Find a specific example of the Recommendation Systems and a company that provides the service. Research and explain an underlying component of the technology, computational method or machine learning model used, be as specific as possible. Describe a potential issue with using recommendation systems, and how your specific example does or does not address it. Include at least one cited credible source (academic paper, official tech documentation, or reputable technical news outlet).
Extensions
Congratulations on completing the core tasks! Between the code that you’ve already written and the report that you write, you’ve already earned up to 26/30 points for this project. If you turn it in by the first deadline that's 27/30 points.
The remaining 3/30 are a chance for you to earn credit for exploring parts of this project and digging deeper to express your creativity! This is entirely optional; 27/30 is an A- and is a perfectly respectable place to stop. Extensions are open-ended and exist to compliment the structured core project. Explore and learn something new that interests you! Concentrating your energy on 2 "deep" extensions that challenge you will earn you more points than many small, "shallow" extensions.
Make sure that your extensions do not break your base project code. A great way to do this is to create extenion_shapelib.py and extenion_main.py files.
You can pick your own topics that interest you. Here are a few examples:
- Make additional basic (.5pt each) or complex (1pt each) shape functions that make use of your other shape functions.
- Make additional scenes that show creative use of functions, loops, or randomness (.5pt for original scene, 1pt for an additional scene).
- Add additional parameters to your shapes to control properties like line width, color, and fill capability to make your shapes more interesting (.5pt each).
- Use loops wherever possible to make your code more concise and efficient (1pt).
- Creative or complex scenes above and beyond the basic expectations count as extensions (.5pt).
To get credit for your extensions, you must document them in your report. For each extension this includes:
- A description of your extension and how it fulfills one of the above tasks.
- A screen shot (or multiple) of your extension.
- An explanation of how you implemented your extension.
Submission checklist
To turn in your project, make sure you do all of the following:
- Check the rubric in Google Classroom and make sure your report and code contain all the required parts.
- Rename your project folder to include your Colby username. For example, I would name mine
hewolfe_Project2.zip. - Create a zip file of your project.
- Attach (drag) the zip file to the posted project assignment on Google Classroom.
- Click "Turn In" on the Project 2 assignment in Google Classroom.