CS 151 Fall 2021 Syllabus Labs/Projects
Lab 10: Event-based programming
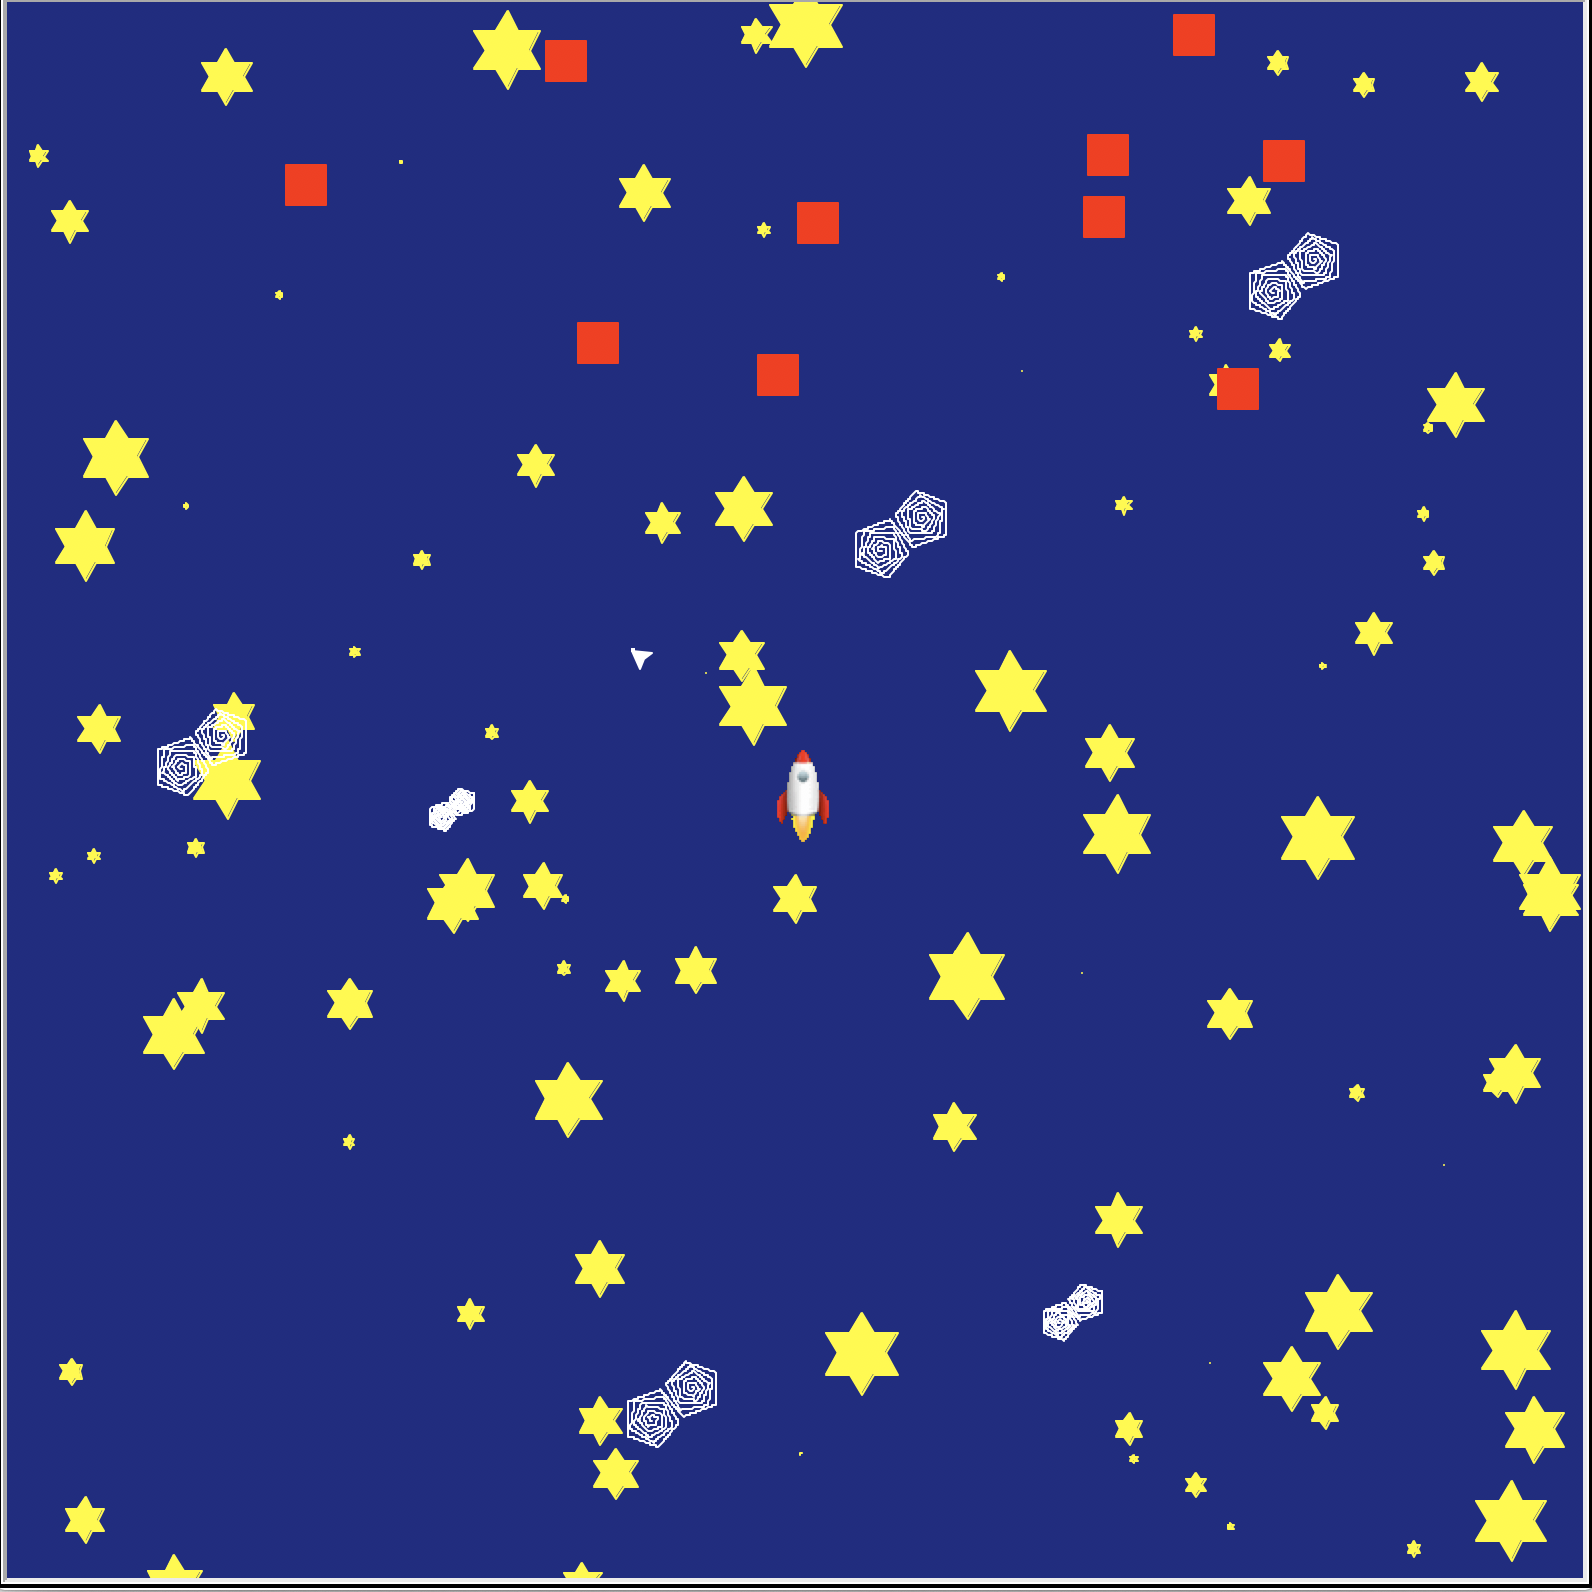
In this lab, you will explore event-based programming by creating a simple video game. Specifically, we will use callbacks, and keyboard button events.
- Lab 10: Event-based programming
- Get started with the project
Tasks
L0. The setup
Create a Lab10 folder on your computer where you store CS151 projects and labs, hopefully somewhere that is backed up (e.g. in Dropbox, Google Drive, Microsoft One Drive, etc.)
Copy over a few files into your Lab10 folder:
turtle_interpreter.py,lsystem.py, andshapes.pyfrom Project 9.- The mosaic file that you made from Project 9 (e.g.
mosaic.py). This will be the background artwork for your video game! - Any L-system txt files that your mosaics or shapes depend on.
Open up a Terminal (e.g. Control+` in VS Code) and change the directory (cd) to the Lab10 folder.
L1. Make the background art for your game
Note: You are welcome to create another background art scene for the game later. You can think of this as an example to get you up and running with the game quickly.
L1a. Update your TurtleInterpreter class
Make the following changes to the TurtleInterpreter class:
- In the constructor, call the
hideturtlemethod on yourTurtleobject. This will make the turtle invisible as it draws. This way, you won't have a turtle appearing somewhere on background of your game! Remember: yourTurtleobject is now a class global variable, not an instance variable. - Create a
getScreenmethod that returns theScreenobject, a class global variable.
L1b. Adapt your mosaic for the game
- Run the file with the mosaic that you copied from a prior project (e.g.
mosaic.py). Make sure that your mosaic draws as expected. - Open up the file and make sure that the mosaic that you want to be the background artwork for your game is fully encapsulated in a function (if it's not, fix it). There should not be any top-level code.
- Remove the call to
holdin your mosaic function.
If your mosaic takes too long to draw, you can simplify it — it does not need to be exactly the same as last week!
L1c. Make your Game class
Create a new file asteroids.py and in it define a class called Game.
Create a constructor with no parameters other than the usual self. In it, write code that does the following:
- Call the function (e.g. located in
mosaic.py) to draw your background artwork mosaic so that it fills the background of the window. - Make a
TurtleInterpreterobject (does not need to be an instance variable). - Create an instance variable for
Screenobject, which you should get by calling thegetScreenmethod that you wrote inTurtleInterpreteron the object.
Copy-and-paste the following play method into your Game class. Fill it in according to the instructions in the comments. This is the method you will call when you want to start interactive gameplay.
def play(self):
    '''Turns the tracer animations on (but speeds up animations) and starts the main game loop.
    '''
    # Call the tracer method on your `Screen` instance variable,
    # passing in True as the parameter to turn animations on.

    # Call the listen method on your `Screen` instance variable
    # so that keyboard presses are not registered as events

    # Call the mainloop method on your `Screen` instance variable.
Create a main function outside the Game class that creates a Game object and calls the play method on it. Call the main function from top-level code in the usual if __name__ == '__main__' conditional statement.
Run asteroids.py. If everything is working so far, you should simply see your background artwork mosaic drawn to the screen (no game elements yet).
L2. Create a main player
Create a makePlayer method in Game. It should
- Create a
Turtleobject that will be the main player that will move under keyboard control. - Make your player turtle shape look like a spaceship:
- Download the rocketship image, save it into your lab folder.
- Add the following line of code to load in the rocketship image into the list of turtle available shapes (adapt the
Screenobject name as necessary):self.screen.register_shape('rocketship.gif') - Call the
shapemethod on theTurtleobject to turn it into the rocketship. The name is given by a string of the image filename,'rocketship.gif'in this case. - In your file header credit the original author Brian Marks. Available at: https://blog.trinket.io/using-images-in-turtle-programs/.
- Pick the main player turtle's pen up and have it face northward.
- Return the
Turtleobject.

Call the makePlayer method from your constructor (after you create the background artwork), assigning the returned Turtle object to an instance variable called something like self.player.
Run your game. You should now see your rocketship in the scene.
L3. Control the main player and make the game interactive
In this task, you will make the player turtle (rocketship) move under keyboard control.
L3a. Parameterize the main player controls
Add instance variables for player speed (units: pixels) and turn rate (units: degrees) in the Game constructor. You might wish to create keyword arguments for these, giving them default values of 20 and 10, respectively.
L3b. Create movement methods
Create the following methods in Game (with no parameters other than self):
up: Move the playerTurtleobject forward by its speeddown: Move the playerTurtleobject backward by its speedleft: Turn the playerTurtleobject left by its turn rateright: Turn the playerTurtleobject right by its turn rate
L3c. Create the setupEvents method
This method should be responsible for creating your game events. In the setupEvents method, you should:
- Add keyboard callback events to the four movement methods you just created. Here, callback means that we will instruct our game to move the player by calling one of movement methods when we press the appropriate keyboard button. To add a callback, we call the onkeypress method of the
Screenobject. It has the following syntax:self.screen.onkey(<Method name>, <String of keyboard button>). For exampleself.screen.onkeypress(self.up, "Up")will move the main player up with you press the up arrow key. To assign the three other arrow keys, use the strings: "Down", "Left", and "Right". - Add a callback to call the
turtle.byefunction when the user presses the "q" key (You could instead use the built-in Python functionquitthat we have used before, butturtle.byeworks more reliably).
Call the setupEvents method at the end of the Game constructor.
Run your game. You should now be able to move your player around the scene with the arrow keys (and change the heading with the left/right keys)!
Notes:
- A common mistake when adding the keyboard callbacks is executing the method rather than passing along just the name. For example,
self.screen.onkey(self.up, "Up"), notself.screen.onkey(self.up(), "Up") - If you would prefer different controls, go ahead and change them!
- Unfortunately with the current version of Python, the turtle shape does not visually rotate as the heading changes.
L4. Include a video of your interface in your report
In your screen recording demo moving the main player using key strokes. This is required documentation 1 in your report.
Document in your report how your control keys move the main player.
I suggest using the screen recording feature of Quicktime on macOS or Xbox Game Bar on Windows 10.
If you have trouble including the video in your Google Doc report, no problem, just include it in your project folder.
Get started with the project
Once you are done with each of the lab tasks, you may start on the project.